Saturday, April 18, 2015

Hasselblad CZ 150 f 2.8 F

Hasselblad CZ 150 f 2.8 F

Problem: Aperture not working

Hasselblad (its Swedish, did you know?!) is probably a brand you don't need me to introduce you to. It's the mainstream medium format (6x6) camera system. Hasselblad has several lens types. Some, for the 500 series, have leaf shutter inside. So it makes those lenses a pain in the ass. Fortunately the lens in hand is a F type. The F type lenses are for the more recent 200 series, moving the shutter back to the body of the camera - where it should be.

This lens, in great shape, but the aperture doesn't work as it should be. The aperture will not move, not with the "DOF" button nor with the release on the base of the lens. So lets get to it:


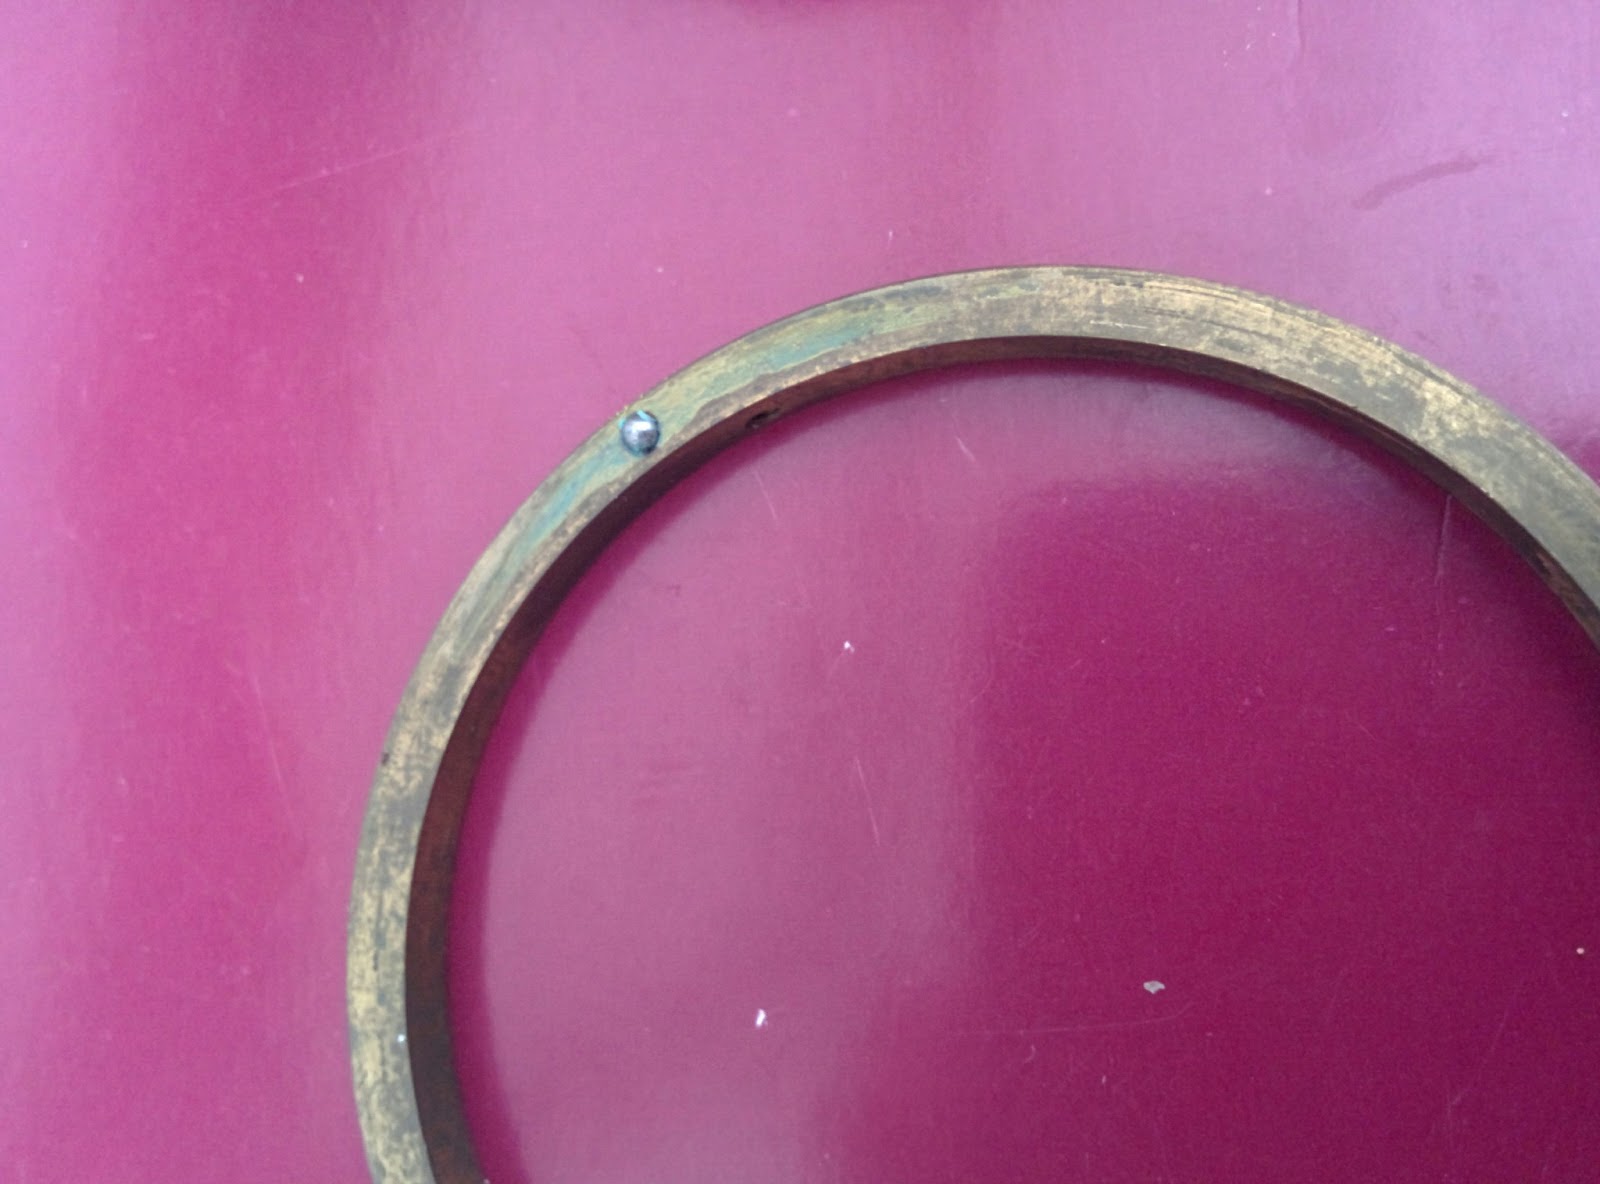
As most (all) of the time we start from the back. Removing the mount we get to the back of the lens.


Ones the mount is lifted you can also remove the back elements group. At this point you get access to the aperture.

Next you can pull out the whole aperture assembly. There are 3 screws holding it in place. So remove those. Next you need to turn the lens to a small focusing distance, making the aperture "go in". Don't over do it, as at this point you can undo the focus. With the aperture in you should pull the aperture setting pin  (the long pin sticking up) away from its slot. Ones this was done, you can simply lift the assembly.


 Now as the aperture was still not working, although I've dropped more than a few drops of White Gas on it, I had to open up the aperture. This is done by removing 3 screws on the inner side of the assembly.


No you can lift (slowly and carefully) the cover and the blades plate.


I've removed all the blades and got them cleaned one by one with Q-tip and some White Gas.


The thinner blades are the inner ones, while the thicker are on the outside. Its quite an easy assembly, but you better work with tweezers and not with bear hands.


Ones you're done you should place back the blades. Start with the thin ones. Place every second hole (there are 10 holes, 5 for each type of blades).

The assembly back is straight forward just as the disassembly.


Sunday, April 12, 2015

Canon FL mount 58mm f 1.2

Canon FL mount 58mm f 1.2

Problem: Stuck aperture

The FL mount is a 35mm SLR lens mount from Canon dating back to 1964. It was followed by the newer and similar FD mount. You can use a FL lens on a FD camera (or adapter), but not vice versa.  The 58mm F1.2 (along with 55mm) was the fastest FL lens available.


The lens I've got is in very good condition, optically and mechanically, but, and there is always a but, the aperture is stuck. Turning the aperture ring, the preset ring (it has one) and the auto-lever does nothing. The lens is stuck wide open.

I've used notes by Rick Oleson (rick_oleson). His web page is a bit messy, but he is a great guy and has huge amount of great resources.

Basically to get to the aperture you need to take the whole lens apart. The good news is that you don't mess with the focus mechanism (its a separate assembly) and the optics are in two (front and back) groups.

So lets get started.

I've started, as always, from the back (mount) side. Removing the single screw on the bayonet and unscrewing (LEFT HAND THREAD) the bayonet completely.

Fig 1 - Single screw is seen on the right (9 oclock)

Next remove the three screws on the side and remove the auto-lever mechanism. Note that there are 5 small bearing balls that will fall ones you start pulling the lever. So do it over a towel or something.


Now you see a retainer ring, its not holding the lens but holding the focusing assembly. Use a spanner (or something) to unscrew it. Not just pull the focusing assembly off.

The back element, the retainer ring is removed and not shown

Retainer ring pulled out and focusing assembly removed.

The back element group can be screwed out.

Under the back element group a spacer ring.

At this point you have access to the back of the aperture. I had to move further in.

Next you need to remove the brass retainer ring. There are three set screws on the side of the ring.
Note there is a ball bearing under this ring, so don't lose it.


The ball in the retainer ring.

To remove the pre-set ring you need to undo the 2 screws holing the coupling piece.


The preset coupling piece. The two screws are in the inside.

Finally you can unscrew the front element. First undo the name ring and next the front element group. I used the lens mount cover, with some electric tape as the tool to unscrew the name plate.

"The tool"

Front element pulled out.

 Now we are left with only cleaning the aperture. As always I dropped few drops of  White Gas and closing and opening the aperture using the inside lever. The lever is the prong connecter by the spring.

And we are done, once the gas flows in and the old oil is removed, the aperture becomes snapy again.
You need to be patient, as it takes few minutes for all the oil to get out. So just clean few times the aperture and keep opening and closing it.  


Saturday, April 4, 2015

Leica Summarit 50mm f1.5

Leica Summarit 50mm f1.5

Problem: Heavy haze on elements

A lot has been written about the Summarit lens. It was manufactured for 18 years (1939-1957 - Actually no lens were manufactured during WWII so its less than 18 years) with total of just under 75K copies made. A good place to read about the lens is here: slrlensreview.com.

The copy I've got dates back to 1954 and had a heavy haze on the elements around the aperture. This actually quite common in my experience with Leica lenses. The haze is an oily residue coming from the grease and lubricants evaporating and landing on the elements adjacent to the aperture. 8 out 10 times (not a real statistics) you can get it of with some alcohol.

Fig 1 - The Subject.

Fig 2 - Its kinda hard to see, but there is a lot of haze in there.

So now we know the problem, we need to get to the elements. The strategy, as in most cases will be to remove the back elements group. Most of Leica lenses I came across have to main assemblies, the focusing assembly and the optics+aperture assembly. As you can not remove the back elements without removing some parts of the focus assembly - the disassembly begins.

NOTE: I started with no references and just removed all the screws - This is not the right think to do. So ready the text because the photos can have some unnecessary stages.

(Don't do this step) - The first obvious screws are the three flat heads on the lens mount. I started by removing them and unscrewing the lens mount. With this done you actually removed a main part of the focusing mechanism, which means you'll have to assemble it just right later on.

Fig 3 - The three flat heads on the lens mount (don't remove)


Fig 4 - The lens mount removed, you still can't get to the retainer ring of the back element. So actually it got us nowhere.

The next screws in line are two screws on the focusing ring. You can remove only one of them.
Next are three set screws between the focusing and the aperture ring. You need to remove all three screws. Thats it. Don't touch the screws on the aperture ring.

Fig 5 - More screws. Note the mount ring should be on (didn't I say it already?!)

Now we get to the tricky part. At this point the optical assembly will turn freely, but that it, you can ture it for ever and nothing will happen.
What you need to do is to take a pin or fine screwdriver (it should be something sturdy, not a paper clip). You insert the pin into the one screw hole you opened on the focusing ring. The pin should enter into a hole in the inner ring that you can't see. But you can feel it, or if you look closely you can actually see it thru the hole.
Now the optical assembly can't turn and you can unscrew it. Yes, it is screwed hard(!). Try not to use the aperture ring for grip. There are actually tabs at the front of the lens, use them (with a spanner or something)

Fig 6 - The pin in the hole. You can see the tab on the front

Fig 7 - This is what we want to end up with

Fig 8 - The focusing assembly. The screwdriver I used as a pin is still in place.

From here on it's very straight. Unscrewing the outer retainer ring you need to remove 3 elements. Note that they are placed in a very tight fit (I'd like to see the tolerances on that machining drawing). So you need be patient removing the elements. 

Fig 9 - First element out

Fig 10 - All three out, the innermost element is on the left.

Thats it, now you have the aperture. Clean it. Open it and clean the element and the elements you removed and just assemble everything back.

Fig 11 - The aperture wide open (well closed, but you get the idea).