Saturday, June 27, 2015

Leica Summicron 90mm f2 Canada Midland

Leica Summicron 90mm f2 Canada Midland
Problem: Rangefinder lever stuck

This is a very rare lens, although the "normal" 90mm Summicron is quite popular and pretty cheep (retaliative to a Leica glass), the Canada Midland is a rare piece. It's quite hard to find any good info on it online. On one site I found that a total of 490 lenses where produced between 1957 and 1962. Based on the serial number it was made at 1958, but I'm not 100% sure about it.

It's a M39 - a screw mount, so I can use it on my Sony NEX camera, it's a crop sensor so I will get something 135mm equivalent of focal length, its quite long for my taste, but can do for half body or head shoots.  


Anyway,

The lens I've got was in quite good condition, you can see it was dropped and the mount if bent a bit inside, but it still can be screwed in fairly easy. The glass is in good shape, as well as the aperture. The problem is that if one really wan't to use it on a Leica camera, he needs to couple the lens to the range finder, this is done via this "prong" at the back of the lens. It's simply moves with the focusing ring, pushing on the range finder lever inside the camera. So this part was stuck, probably due to the hit the lens took.


Basically the disassemble part is easy and minimal, you just need to get the "prong" out. By removing the two side screws.


Next I took the think apart to clean it. Pushing it all the way in, you'll see the end of the spring visible at the bottom. You just need to lift it out of the hole (I used a knife's edge)


And these are the three part, the spring, the moving and static parts.


After cleaning the whole think (I also used some very fine sending paper to really make it smooth) the whole think goes back together, insert on part into the other and then lock everything with the spring.

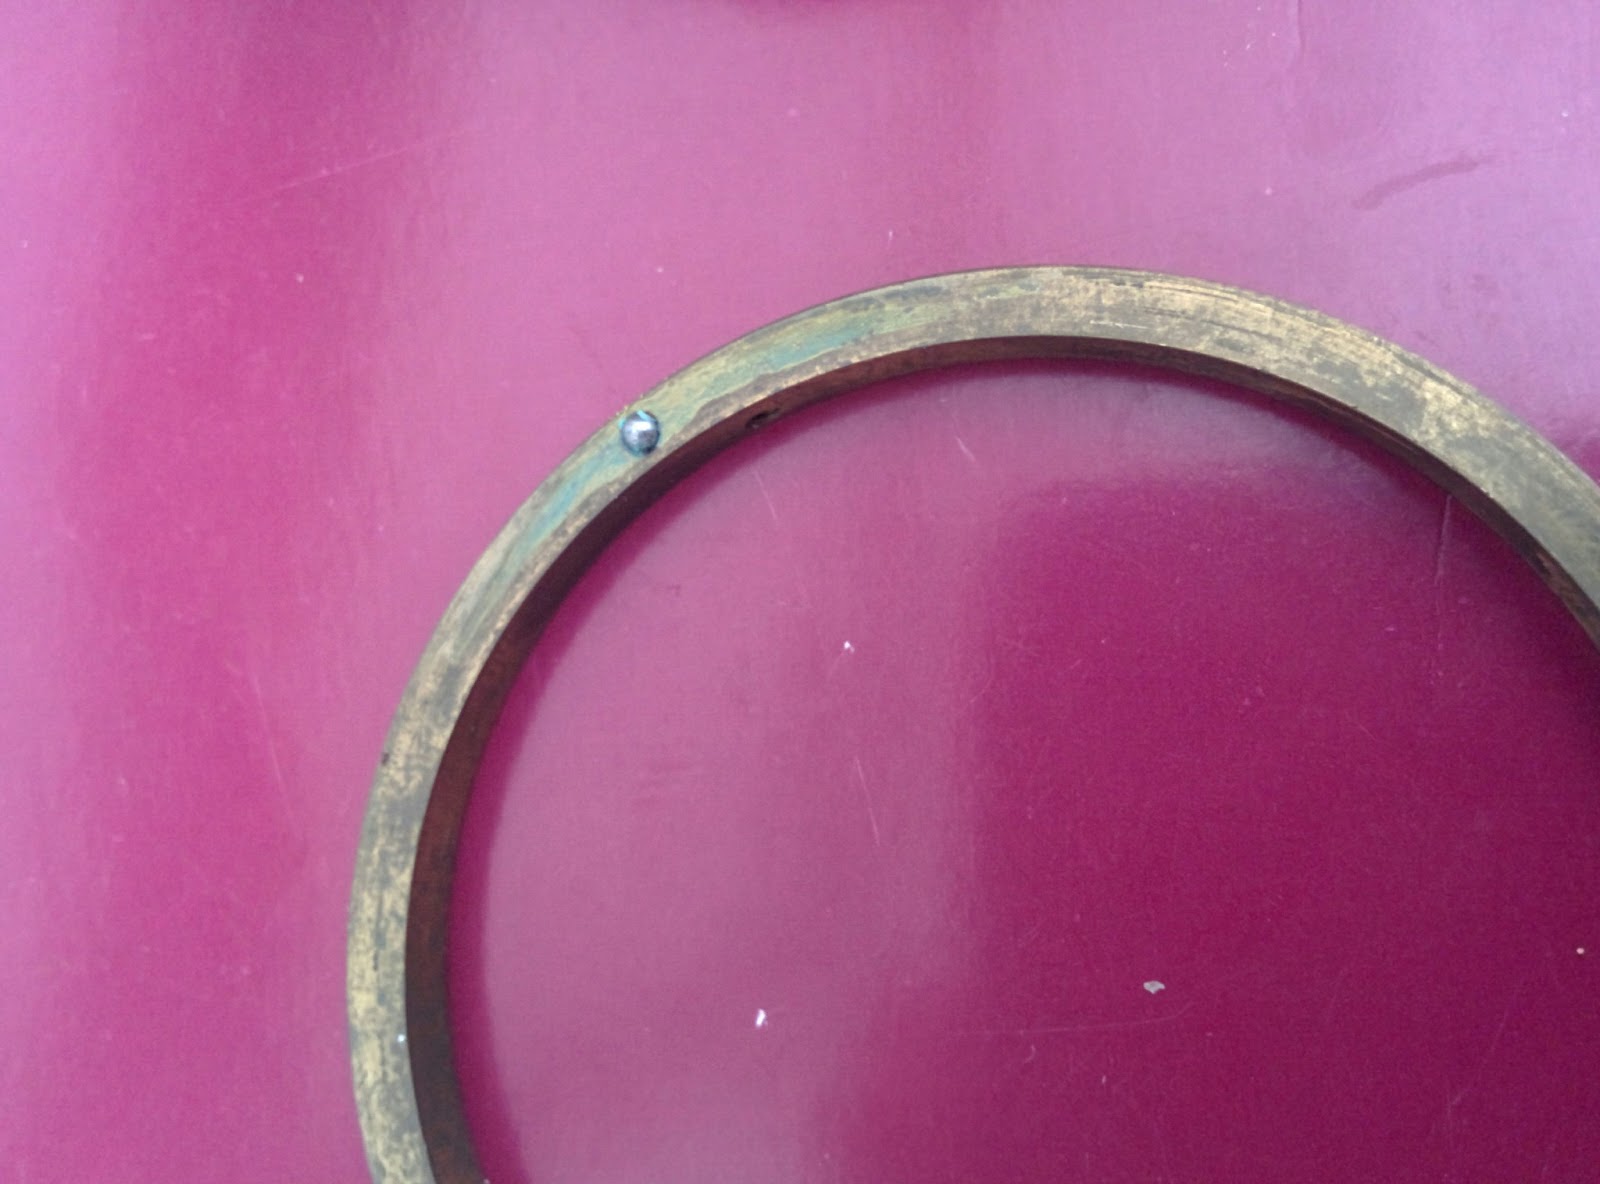
Next I've tried to unbend a bit the mount as it to close to the "prong". For this I've made a tool which can be useful also for bend filter rings, so its a good think you remember this.

All you need is a piece of wood, I've used a round saw to drill a 40 mm (the mount is M39 - 39 mm) hole in the middle of the block and then cut it in half. Make sure you save the inside piece that you've sawed off.


Next I've placed the lens into the block, and the inner piece inside the lens, and gave it a few taps.


And that's about it. Its not perfect, but it will do.


So I did shoot few test shoots with this lens, and I really enjoyed it, It's a bit on the long side as I said, but it was quite easy to get sharp images even at F2 and the colors and total feel from the lens came out very nice.


(Sony NEX3 - Leica Summicron 9cm f2 @ f2)


Wednesday, June 24, 2015

Nikon AF-S DX 18-300mm

Nikon AF-S DX Nikkor 18-300mm f/3.5-5.6G ED VR
Problem: Jammed Zoom

Thats a long name for a lens, but its also a long lens, so I guess it makes sense. The 18-300 is the new (2014) ultra-zoom lens from Nikon. As always there is a lot of data and reviews simply but googling the name, so I'll get to the fun part.

I've got this copy in a very nice condition, almost mint, with original box and all paperwork, but - the zoom ring is stuck at about 50 to 100 mm, it works there, but no more and no less.

I hate zoom lenses. I hate modern autofocus lenses. The 18-300 is both, its the state of the art modern engineering, and as you know (or should know) modern engineering is great, but it makes hell for the amateur repairman.

Actually this fix was fairly easy, as you will see most of the dissemble I've made was not necessary, but I'll walk you through it any way.

I've started with removing the mount. First you need to get all 5 screws that are on the side, 3 for the plastic cover and 2 for the connections module.


Next remove the 4 screws holding the mount. Now you can remove the mount, note that the aperture lever is connected, basically its a slotted strip so you can just carefully take it out, just make sure you set the zoom to about 150 mm or anything else mid range.


Under the mount there are the spacer rings, make sure you take them out and note their order.


Now the cover with all switches can simply be pulled off. Be Careful. There is a small ribbon cable going from the switches to the board, you should take it out of the connector on the board.


Next you can take out the focusing ring. It isn't held by anything, but you do need to play a bit with it go get it over the gears and boards.


This is as far as I wen't from this side, feeling a bit stuck I started playing with the zoom and tried to figure out what the hell is wrong. During this I felt something thought the rubber grip on the zoom ring. So we move on and remove the grip, its just a rubber whole ring, so use a flat screwdriver and get under it, and simply pull it off.


Now you see the two parts of the zoom ring and they are held with a tape, There are also few screws sticking in it. Looking around I found the problem of the lens:


A screw (from one of the guides) was bent or something but it didn't glide in the guide as it should, and this is what jammed the zoom. Took the screw out:


As you see it was in good shape. I don't know how it got loos this way. Any way, screwed the screw back in into the guide thought the hole in the lens ring, and put every thing back together. As you might guess, all the initial disassembly of the mount and back part was actually not necessary.


And this is the final think on my old D80 with the zoom at 18mm:


By the way, the VR on this lens is quite impressive, I was able to get very good results at 50 mm with exposure time of 1/5 sec (I'm pretty steady shooter, yet this is very impressive). I've had this lens on my D80 for few days and I quite enjoyed it, I'm not a pixel picker, so I haven't really tested the sharpness of the eye lashes on my portraits, but I've enjoyed shooting with it, and was pleased with the results (or maybe its the Nikon saturated colors I'm not used to?!)


Saturday, May 30, 2015

Nikon 55mm f 1.2

Nikon 55mm f1.2
Problem: Fungus

The Nikon 55mm 1.2 and its two sisters the 50mm f1.2 and the 58mm f1.2 are the two fastest lenses for SLR by Nikon ever made. The Ai-S version of the 55mm is still sold new and there is no autofocus lens as fast for the Nikon system (for Canon there is the  perfect 50 F1.2L)

I actually got two similar lenses one from 1967 and one from 1971-72 (based on serial numbers). Both had few fungus stops on elements around the aperture.

This is actually quite an easy fix. The lens can be taken apart into two main assemblies: the focusing assembly and the optical one.

Fig 1 - The spot of fungus can be seen under "Nippon"

We start by removing the front ring. First you need to unscrew the small set screw in the side of the ring and than simply undo the ring (is stuck two tight, you can use the small screw as a lever and turn with a spanner - or something)

Fig 2 - The small set screw, just under the letter N in Nikkor-s

Ones the front ring is removed, you can simply take out the whole optical assembly. This is the time to point our that if you only want to get to the glass inside, or the front of the aperture, you don't need to take the whole thing out.

Fig 3 - Optical assembly is out.

Next the front element group can be unscrewed using a spanner and using it on the two grooves at the front of the lens. Having done this, one can clean the inner elements, As always, I use a Q-tip with some white vinegar on it to remove and kill the fungus. Next I use another Q-tip and clean the residue with some IPA and finally cleaning everything dry with some lens tissue or a cotton ball. 

Fig 4 - Clean.

The assembly is actually tricker if you need to put back the optics. You should align three things, the aperture lever, the auto (spring) lever and the slot and screw (screw on the side at the front of the opics). I found its easier to do with the stepped down, set the aperture ring to F16 and slowly get it in there - It will take few tries, and cries, but you'll get it in the end.   

Saturday, April 18, 2015

Hasselblad CZ 150 f 2.8 F

Hasselblad CZ 150 f 2.8 F

Problem: Aperture not working

Hasselblad (its Swedish, did you know?!) is probably a brand you don't need me to introduce you to. It's the mainstream medium format (6x6) camera system. Hasselblad has several lens types. Some, for the 500 series, have leaf shutter inside. So it makes those lenses a pain in the ass. Fortunately the lens in hand is a F type. The F type lenses are for the more recent 200 series, moving the shutter back to the body of the camera - where it should be.

This lens, in great shape, but the aperture doesn't work as it should be. The aperture will not move, not with the "DOF" button nor with the release on the base of the lens. So lets get to it:


As most (all) of the time we start from the back. Removing the mount we get to the back of the lens.


Ones the mount is lifted you can also remove the back elements group. At this point you get access to the aperture.

Next you can pull out the whole aperture assembly. There are 3 screws holding it in place. So remove those. Next you need to turn the lens to a small focusing distance, making the aperture "go in". Don't over do it, as at this point you can undo the focus. With the aperture in you should pull the aperture setting pin  (the long pin sticking up) away from its slot. Ones this was done, you can simply lift the assembly.


 Now as the aperture was still not working, although I've dropped more than a few drops of White Gas on it, I had to open up the aperture. This is done by removing 3 screws on the inner side of the assembly.


No you can lift (slowly and carefully) the cover and the blades plate.


I've removed all the blades and got them cleaned one by one with Q-tip and some White Gas.


The thinner blades are the inner ones, while the thicker are on the outside. Its quite an easy assembly, but you better work with tweezers and not with bear hands.


Ones you're done you should place back the blades. Start with the thin ones. Place every second hole (there are 10 holes, 5 for each type of blades).

The assembly back is straight forward just as the disassembly.


Sunday, April 12, 2015

Canon FL mount 58mm f 1.2

Canon FL mount 58mm f 1.2

Problem: Stuck aperture

The FL mount is a 35mm SLR lens mount from Canon dating back to 1964. It was followed by the newer and similar FD mount. You can use a FL lens on a FD camera (or adapter), but not vice versa.  The 58mm F1.2 (along with 55mm) was the fastest FL lens available.


The lens I've got is in very good condition, optically and mechanically, but, and there is always a but, the aperture is stuck. Turning the aperture ring, the preset ring (it has one) and the auto-lever does nothing. The lens is stuck wide open.

I've used notes by Rick Oleson (rick_oleson). His web page is a bit messy, but he is a great guy and has huge amount of great resources.

Basically to get to the aperture you need to take the whole lens apart. The good news is that you don't mess with the focus mechanism (its a separate assembly) and the optics are in two (front and back) groups.

So lets get started.

I've started, as always, from the back (mount) side. Removing the single screw on the bayonet and unscrewing (LEFT HAND THREAD) the bayonet completely.

Fig 1 - Single screw is seen on the right (9 oclock)

Next remove the three screws on the side and remove the auto-lever mechanism. Note that there are 5 small bearing balls that will fall ones you start pulling the lever. So do it over a towel or something.


Now you see a retainer ring, its not holding the lens but holding the focusing assembly. Use a spanner (or something) to unscrew it. Not just pull the focusing assembly off.

The back element, the retainer ring is removed and not shown

Retainer ring pulled out and focusing assembly removed.

The back element group can be screwed out.

Under the back element group a spacer ring.

At this point you have access to the back of the aperture. I had to move further in.

Next you need to remove the brass retainer ring. There are three set screws on the side of the ring.
Note there is a ball bearing under this ring, so don't lose it.


The ball in the retainer ring.

To remove the pre-set ring you need to undo the 2 screws holing the coupling piece.


The preset coupling piece. The two screws are in the inside.

Finally you can unscrew the front element. First undo the name ring and next the front element group. I used the lens mount cover, with some electric tape as the tool to unscrew the name plate.

"The tool"

Front element pulled out.

 Now we are left with only cleaning the aperture. As always I dropped few drops of  White Gas and closing and opening the aperture using the inside lever. The lever is the prong connecter by the spring.

And we are done, once the gas flows in and the old oil is removed, the aperture becomes snapy again.
You need to be patient, as it takes few minutes for all the oil to get out. So just clean few times the aperture and keep opening and closing it.